- Data Recovery
- Data Recovery for PC
- Data Recovery for Android
- Data Recovery for iPhone/iPad
- Unlock For Android
- Unlock for iPhone/iPad
- Android System Repair
- iPhone/iPad System Repair
Updated By Cameron On Nov 23, 2022, 8:37 pm
IOS data recovery (Ultdata) is a powerful and effective data recovery software, which can help all iOS device users recover lost data. The following content will introduce the working principle and operation steps of iOS data recovery (Ultdata) in detail.
The tool supports scanning and restoring data types: Photos, Videos, Messages, Contacts, Call History, Notes, Calendar, Reminders, Safari, Audio, FaceTime, App, WhatsApp, LINE, WeChat, Viber, Messenger, Kik&Attachments.
1. Download, install and start the software, and click "Restore data from iOS device" on the software interface.
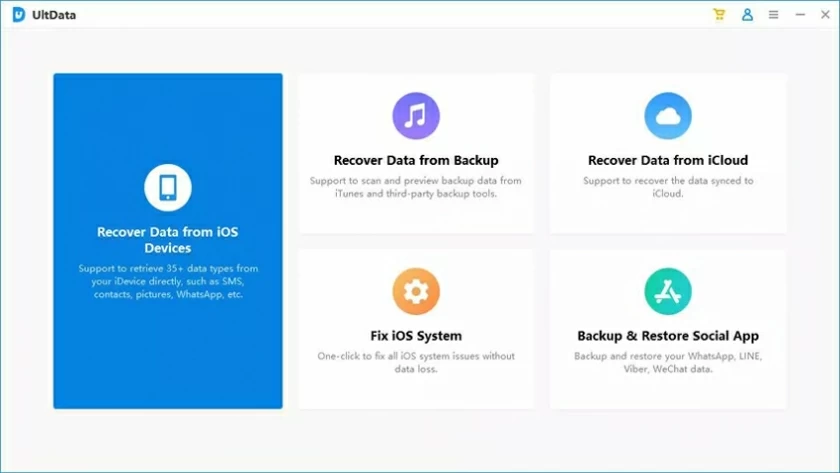
2. Connect the iOS device to the PC/Mac through the data cable. After the device is trusted, the program can automatically identify the iOS device.
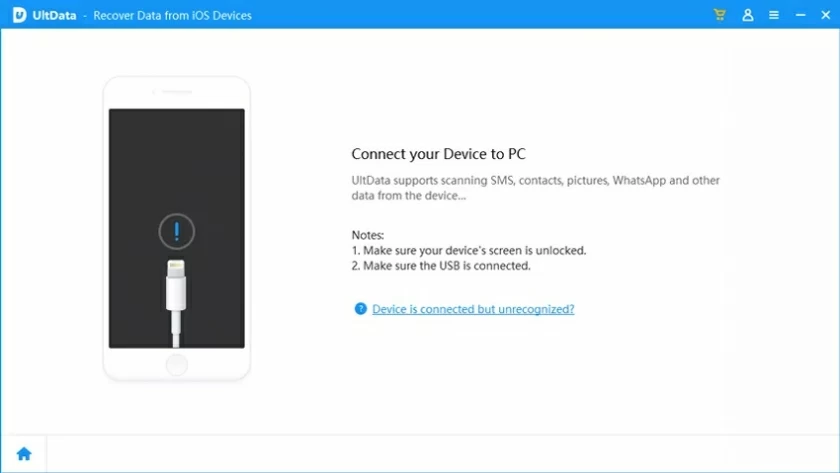
2.1 If the device is not unlocked, unlock the device first after connecting it.
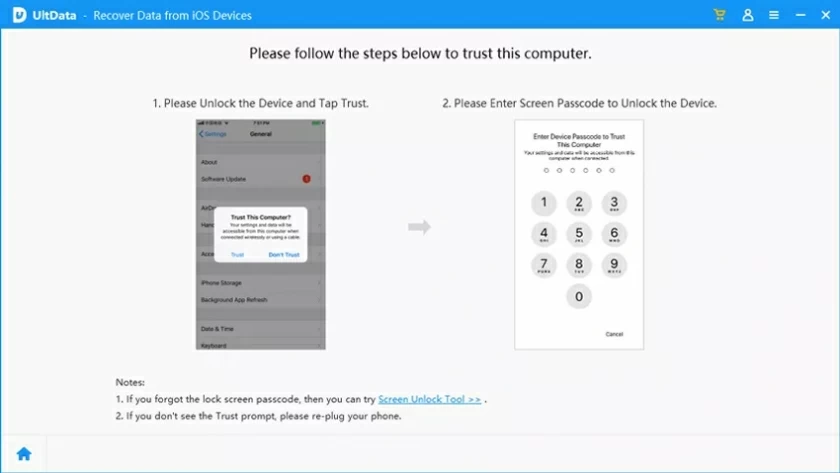
2.2 If the device cannot be identified, perform operations as prompted:
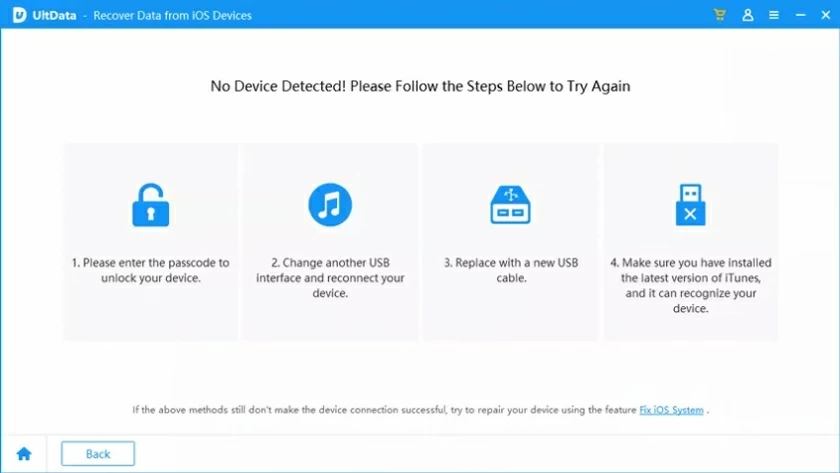
3. Select the data type to be recovered, and then scan the iOS device.
After connecting the device in the second step, you can select the type you want to restore in the next interface, and then click "Scan" in the lower right corner to find files.
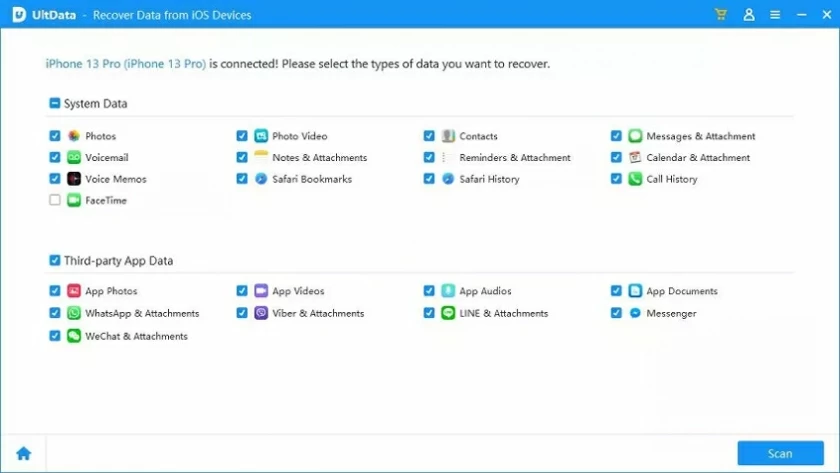
Note: The difference between the types supported by Windows and Mac is that Mac does not support the "Messenger" data type, and Windows does not support the "Kik&Attachments" data type.
4. Preview the found data
After scanning, the program will list all the files found. Before restoring, you can click the file to view the details. You can choose to view all files or only deleted files.
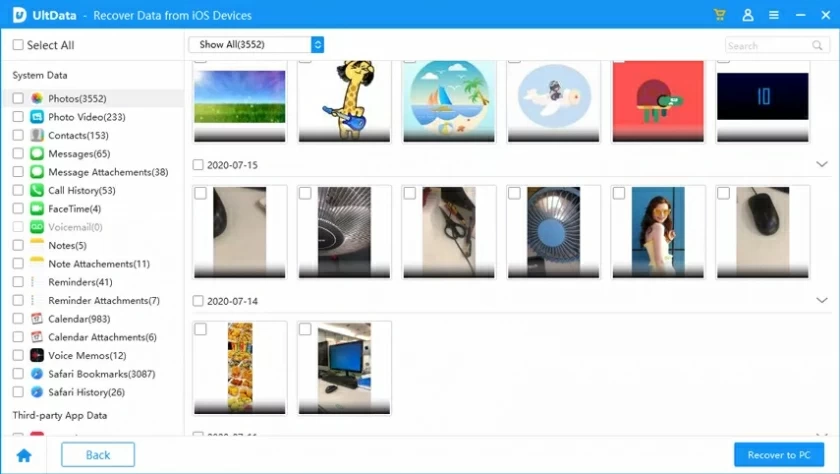
5. Restore the deleted data
Select the files you want to restore, and then click "Restore to PC" in the lower right corner to complete the file restoration.
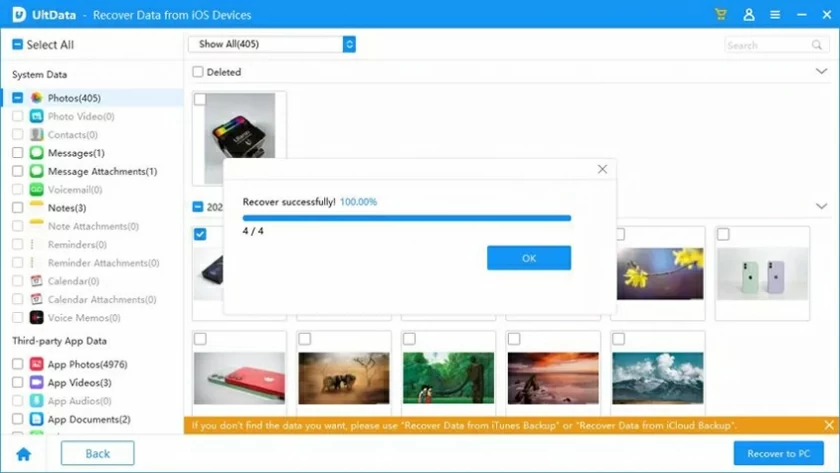
After the recovery is complete, you can view the files on your computer or device.
1. After installing and starting the software, click "Restore data from iTunes backup" on the interface to enter.
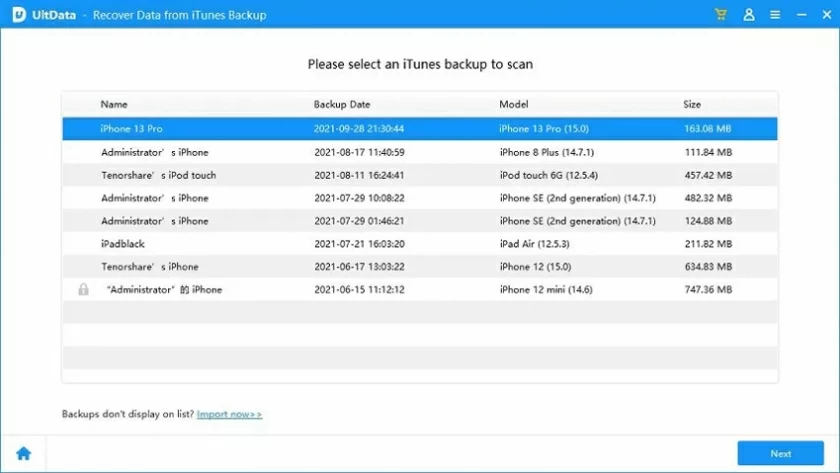
2. Select iTunes to backup data
After entering "Restore data from iTunes backup" , iOS data recovery (UltData) will automatically read the available backup files. You can confirm the backup to be selected according to the name and time, and click "Next" after selecting the backup file.
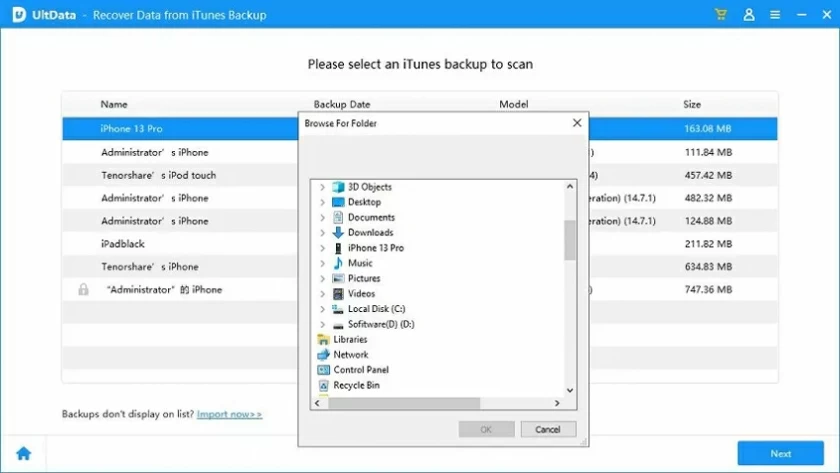
If your backup files are stored elsewhere, you can also manually import the backup files.
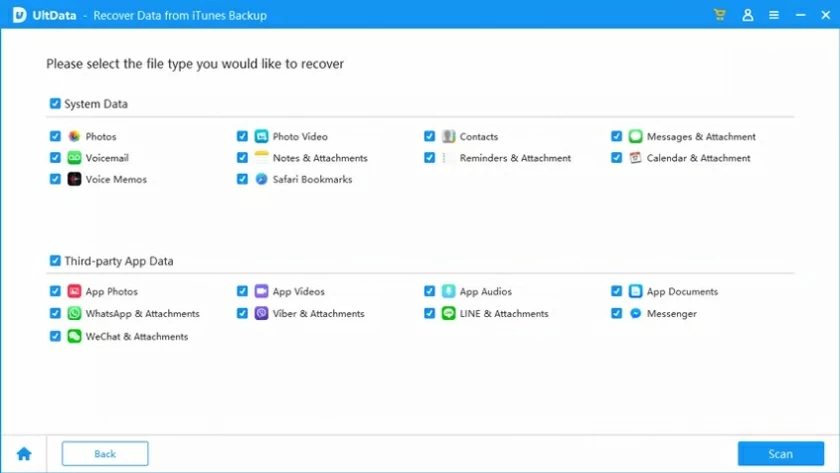
3. Scan iTunes backup files
After selecting the backup file, you can see the file type interface, select the file type to restore, and click "Scan" to enter.
4. Find and preview the missing file.
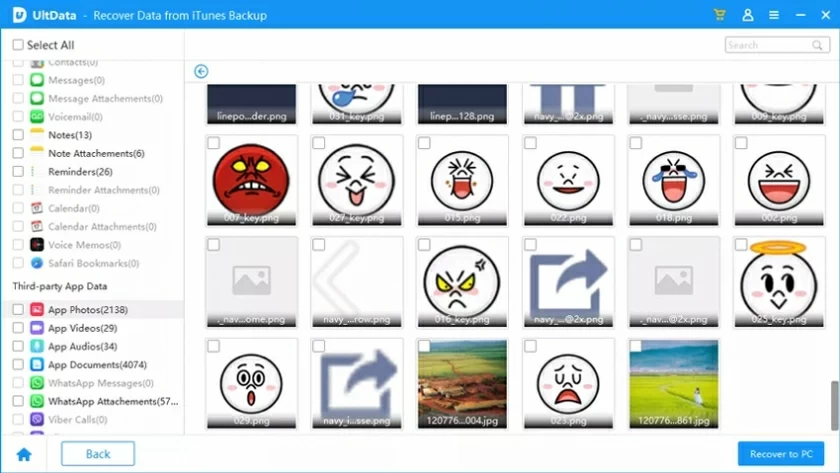
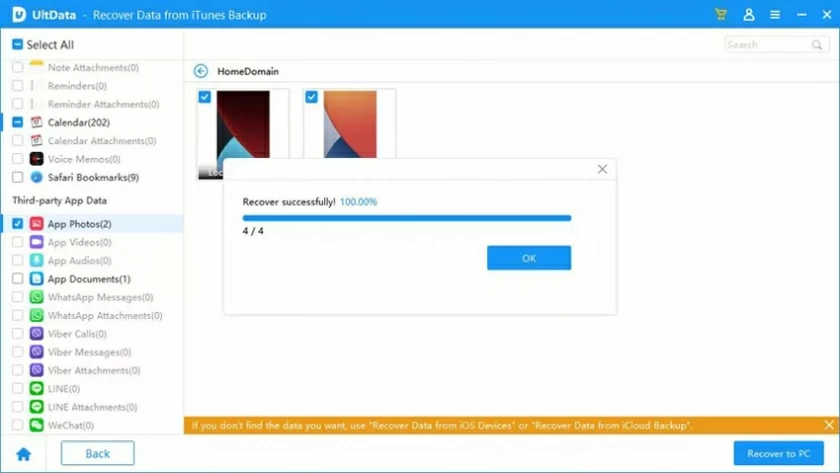
5. Perform data recovery
Click "Restore to PC" after confirming the file. After a few seconds, the data can be recovered successfully.
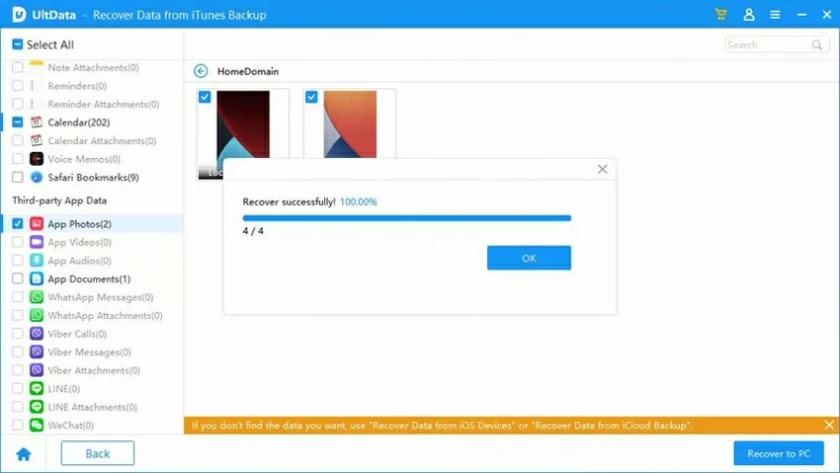
Now you can see the recovered data and check whether it has been completely recovered. If the recovered picture cannot be opened, we suggest you try again.
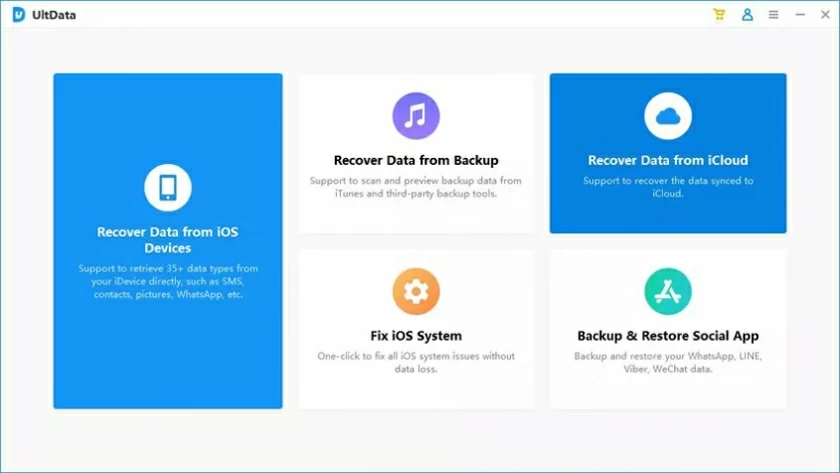
1. After the iOS data recovery software is installed and started, click "Recover data from iCloud" on the interface to enter.
2. Log in to iCloud
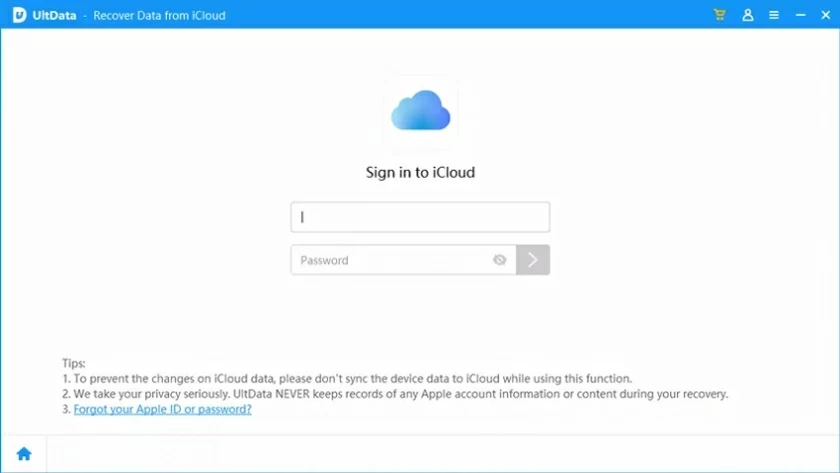
Tips: It is recommended to stop synchronizing data to iCloud before operation.
3. Select the data type to restore and start downloading iCloud data.
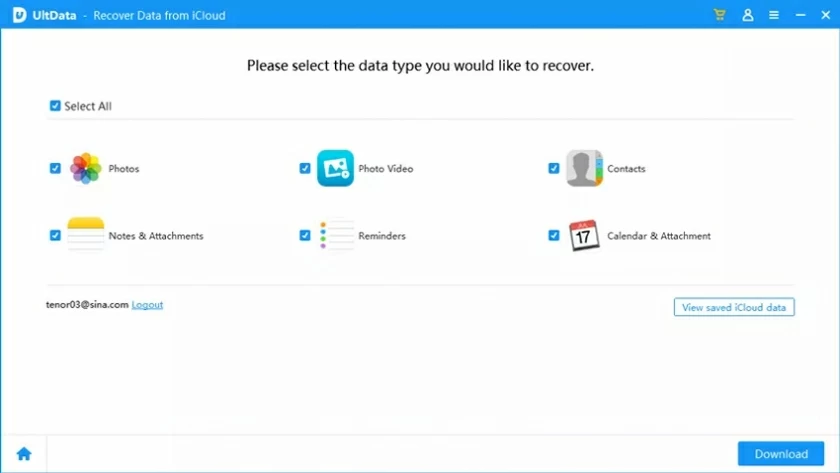

The download duration is related to the size of the synchronized data on the iCloud account. The file size may take a little longer. Wait patiently for a while.
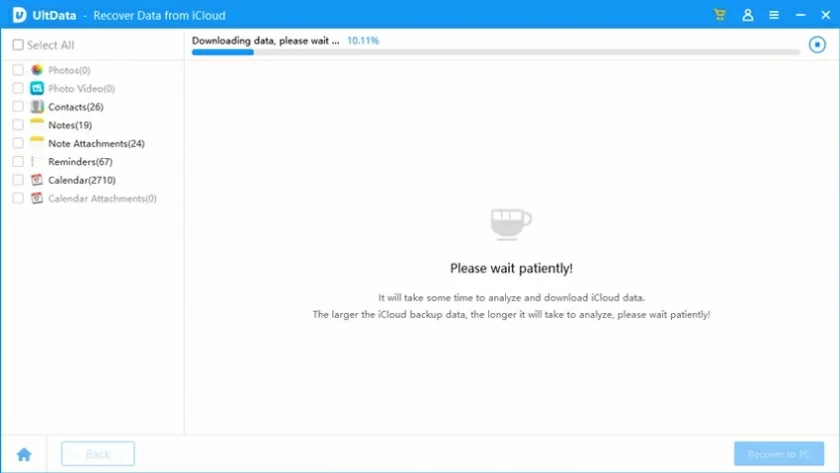
After downloading, you can enter the recovery process. Before recovery, you can preview the file by double clicking.
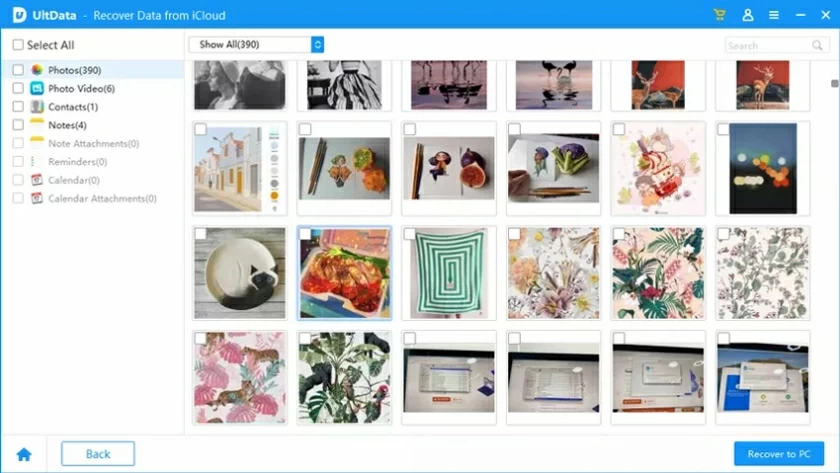
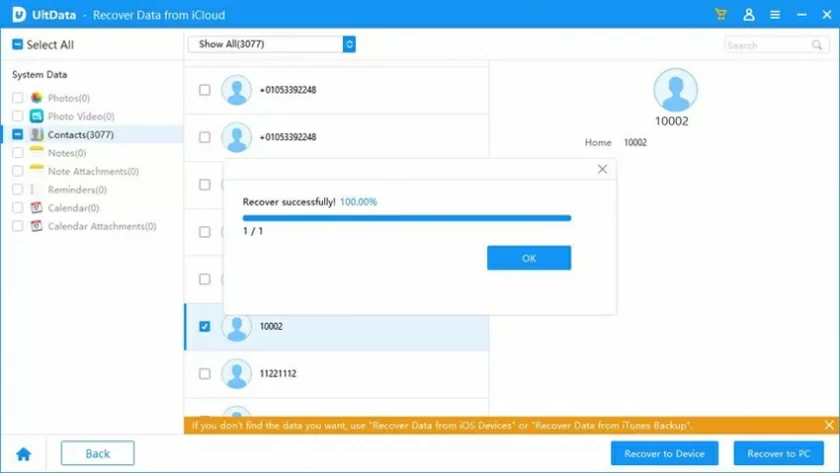
Finally, you can select the files to be restored and click the "Restore to PC" or "Restore to Device" button at the bottom (only contacts are supported) to restore them.
1. Start the software and select the "Repair iOS System" function.
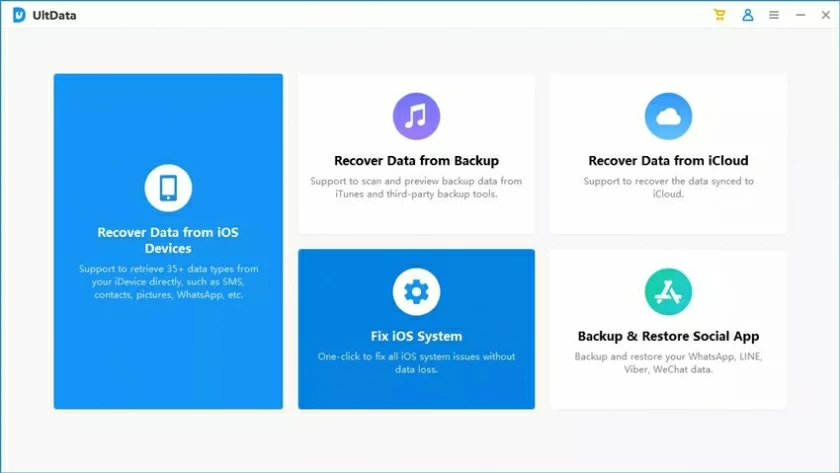
2. Connect the iOS device to the computer through a data cable.
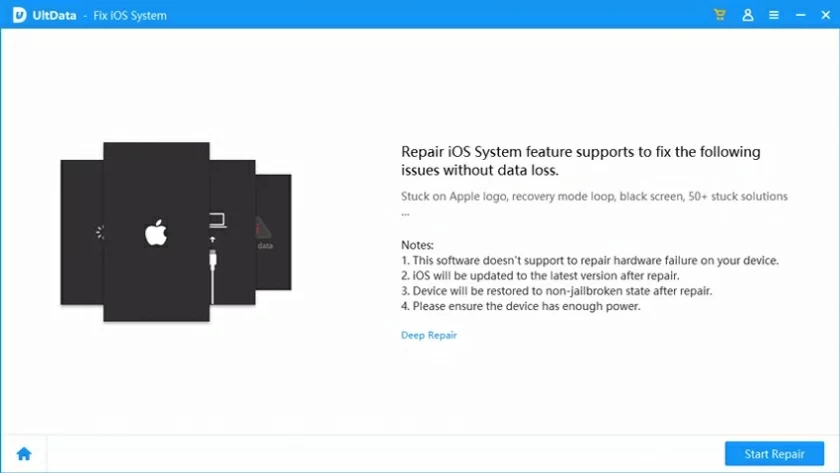
3. Click Start below and download the firmware.
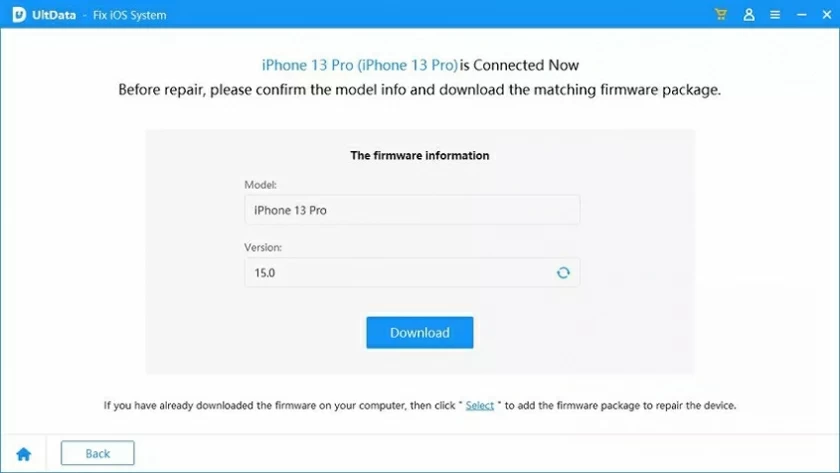
4. Perform system repair.
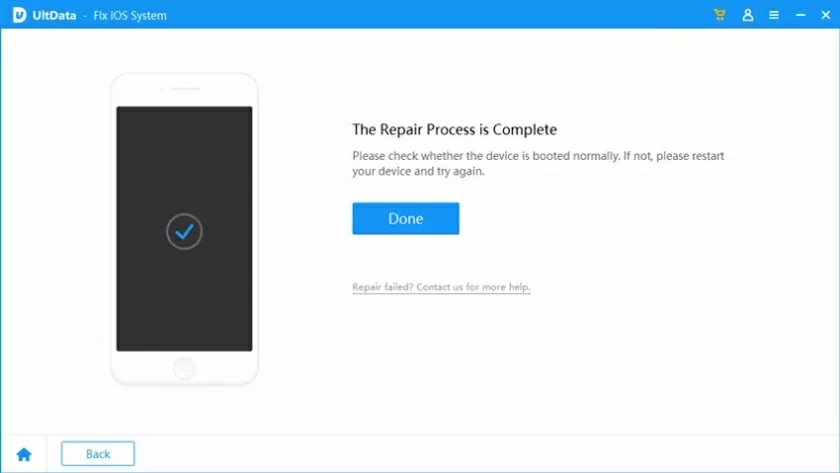
1. Start the software, and then select the "Backup and restore social applications" function.
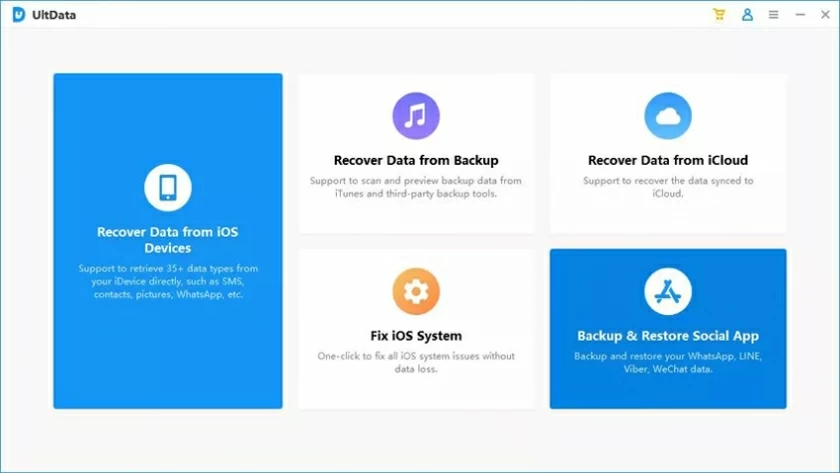
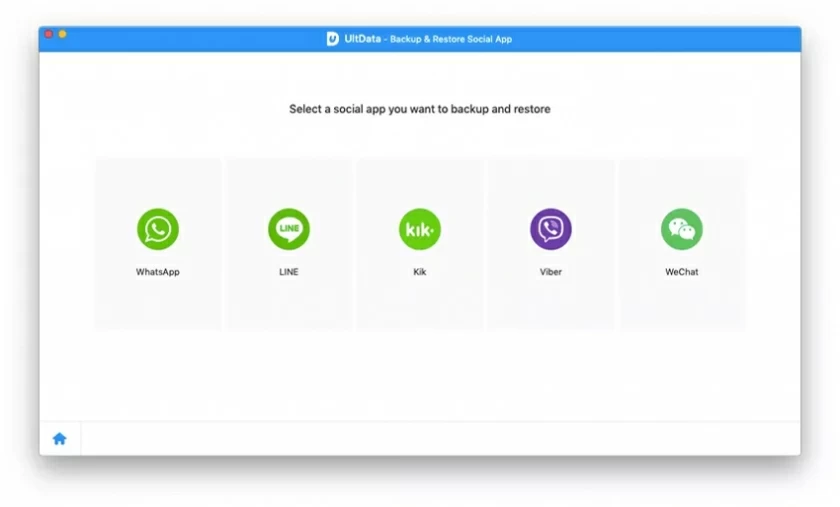
2. Select the social applications to be backed up, such as WhatsApp, LINE, Wechat, etc.
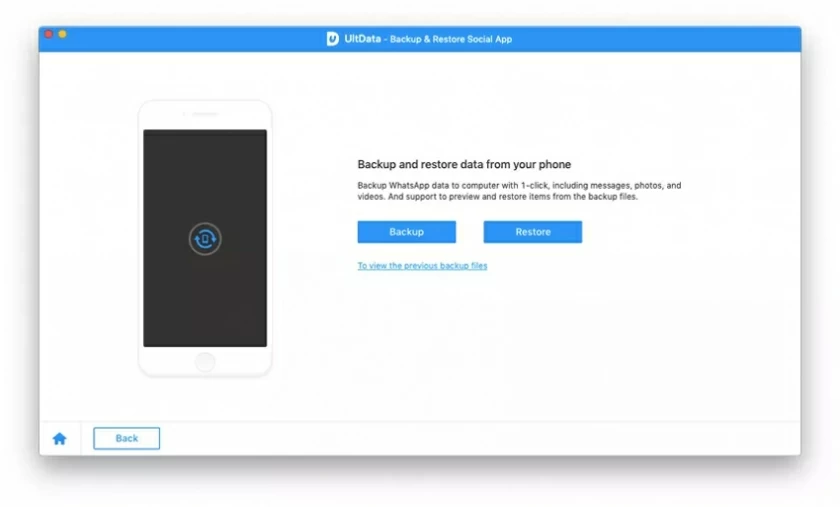
3. Select the iOS device connected to the computer, and then start the backup.
4. Complete the backup.
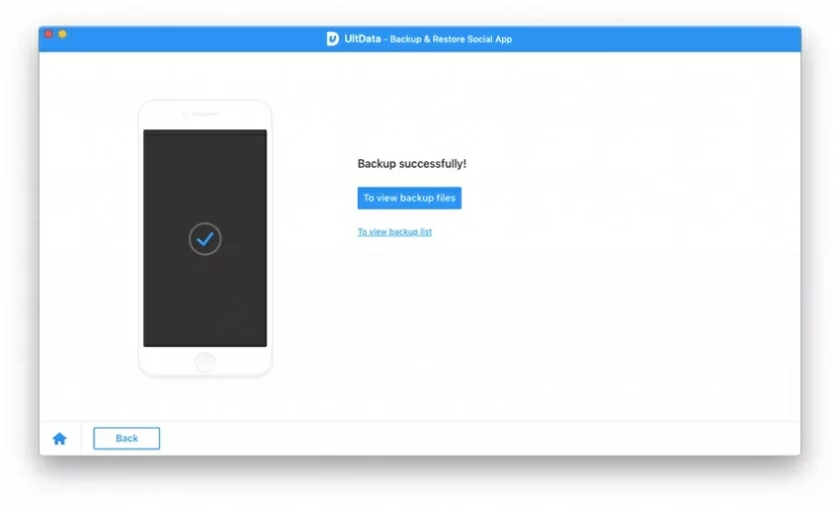
5. View the backup file and select the one to restore.
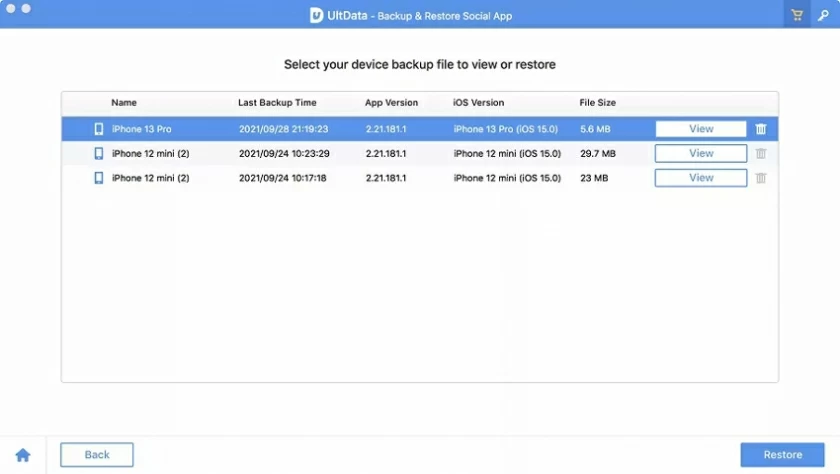
6. Finish scanning for backup files.
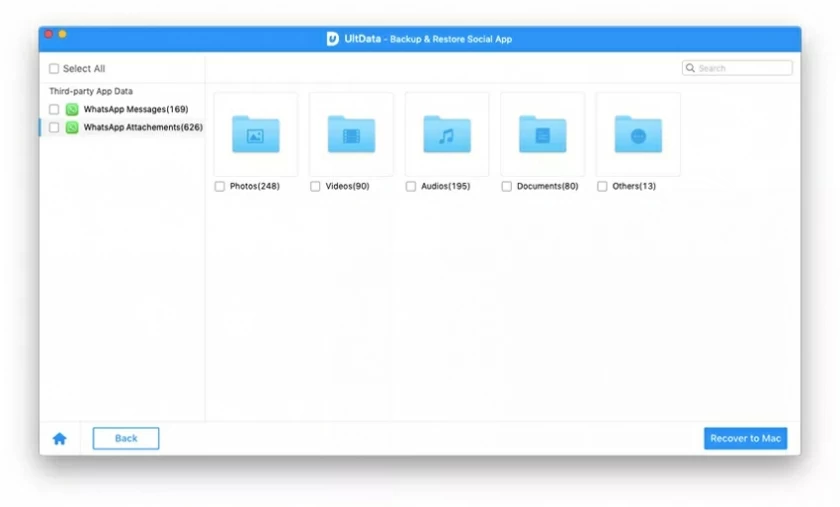
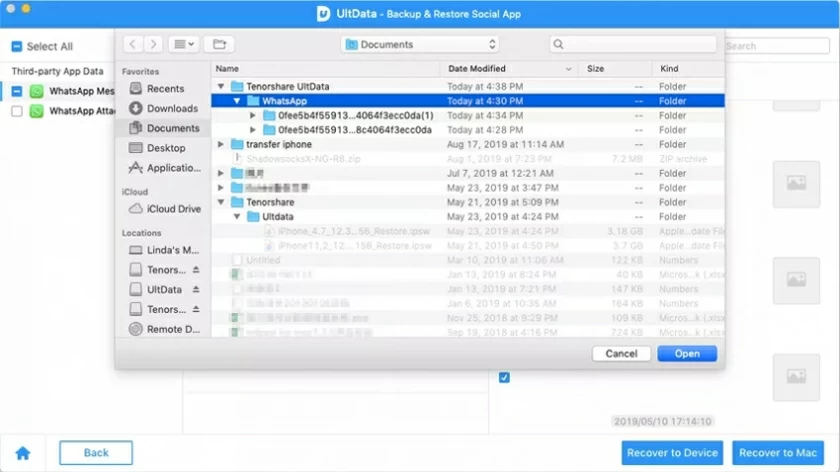
7. Preview and restore the backup file.
